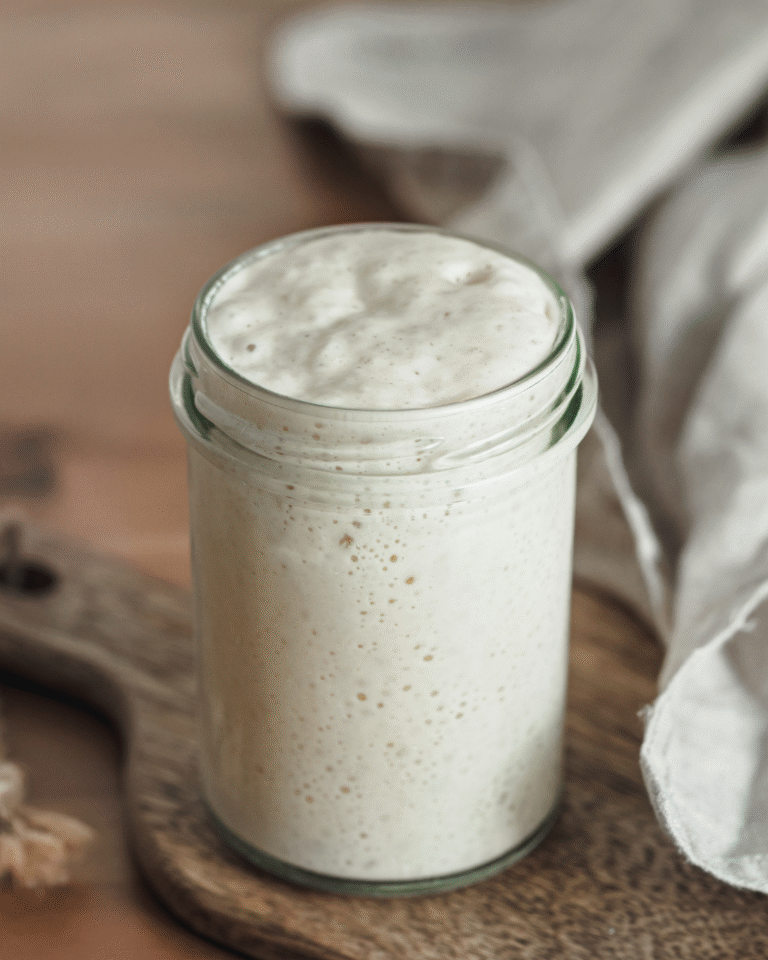
I’ve been baking sourdough for years now, and if there’s one thing I’ve learned, it’s this: there’s no single “right” way to make great sourdough. Every baker has their own favourite recipes, techniques, and tools best suited to their preferences and lifestyle.
As a micro-bakery owner who bakes sourdough every single week, I’ve become obsessed with making our kitchen more efficient—and that means testing a lot of tools. In this guide, I want to share the sourdough tools we’ve tried so far, which ones we actually prefer, and the ones that have truly made a difference in our baking.
I will include Amazon affiliate links to all of these products for your convenience, which means I may earn a small commission if you make a purchase (at no extra cost to you). Thank you for supporting our little micro-bakery!
Our Sourdough Essentials
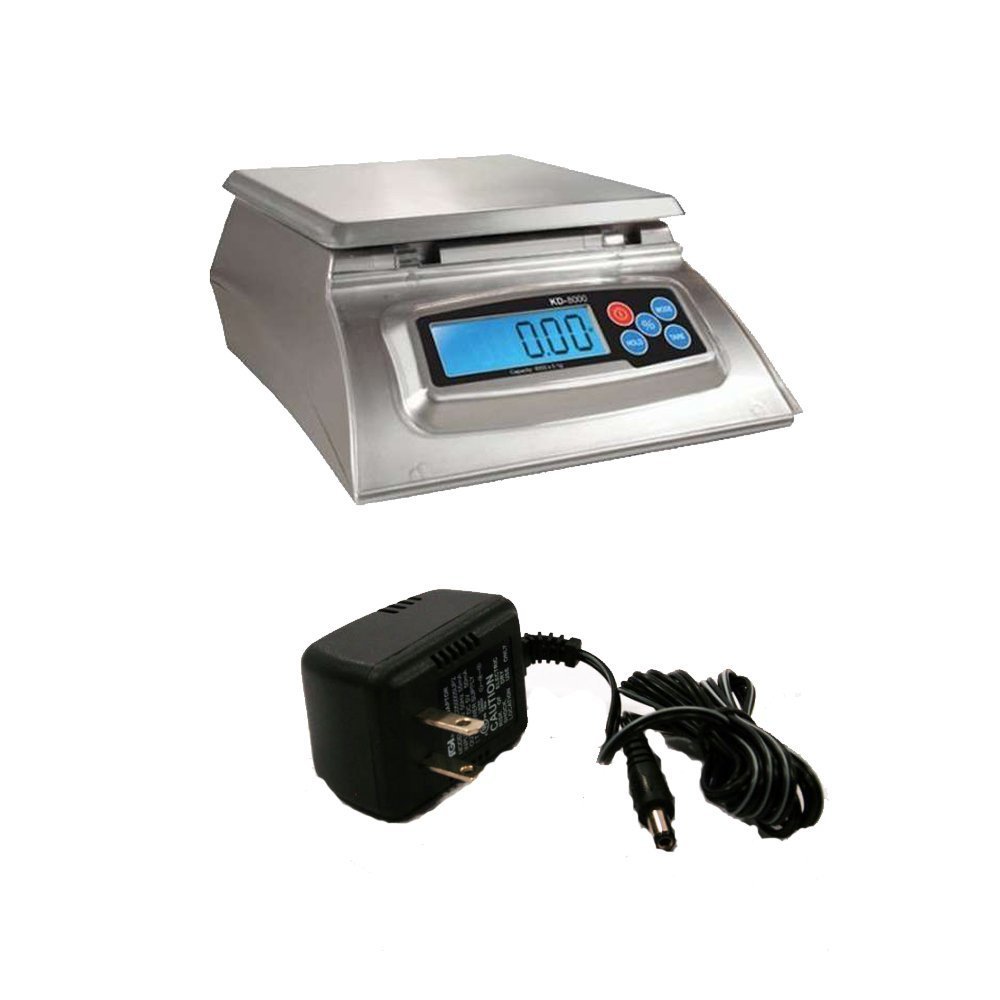
1. Digital Scale
Weighing ingredients ensures consistency, allows you to scale with ease and lessens clean up! Everything can go into a single mixing bowl, which means no measuring cups necessary. This is our go-to scale because it has an 8kg capacity, is battery operated (meaning you can use it wherever you want) and is easy to read.
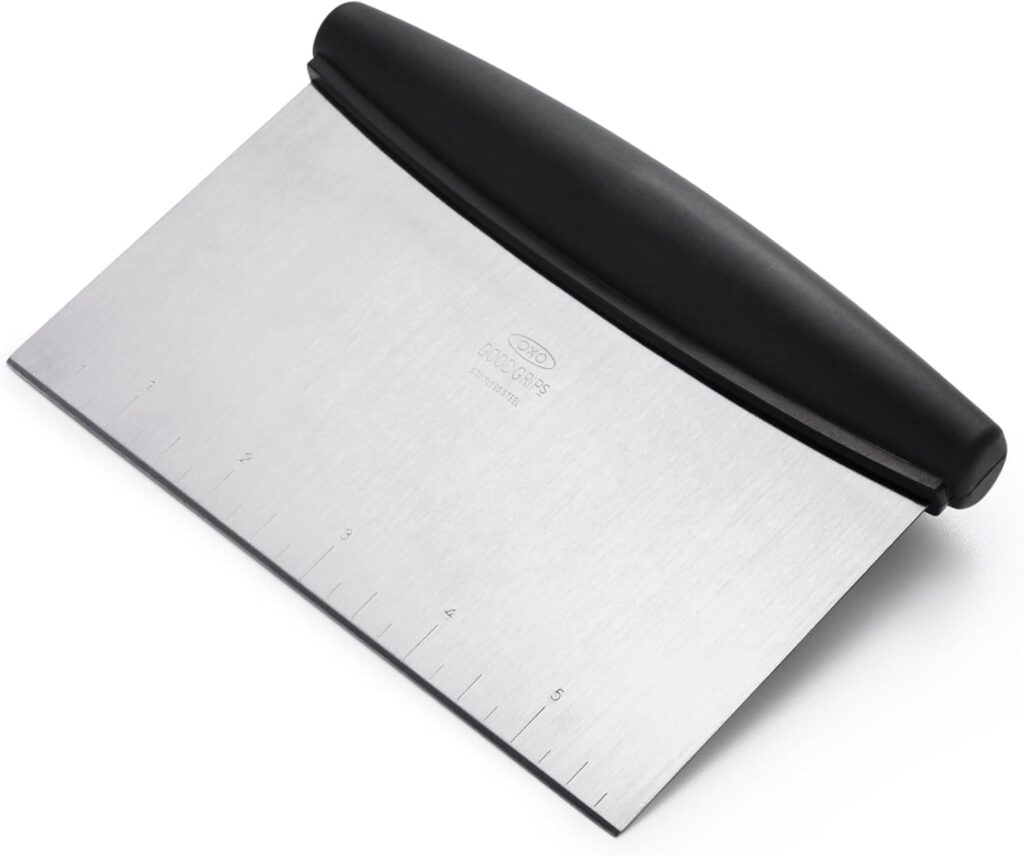
2. Bench Scraper
I love this bench scraper because it slices cleanly through dough, making dividing and portioning incredibly easy. It’s also one of my go-to tools for tidying up the workspace after shaping — it’ll scrape up flour, dough bits, and stray crumbs in seconds.
Side note: I don’t recommend using this scraper on plastic surfaces. The metal is sharp and can scratch the plastic, which leads to micro-plastic shedding and makes your bins harder to clean over time. To clean our dough bins, I prefer a soft plastic scraper instead. (Like these ones)
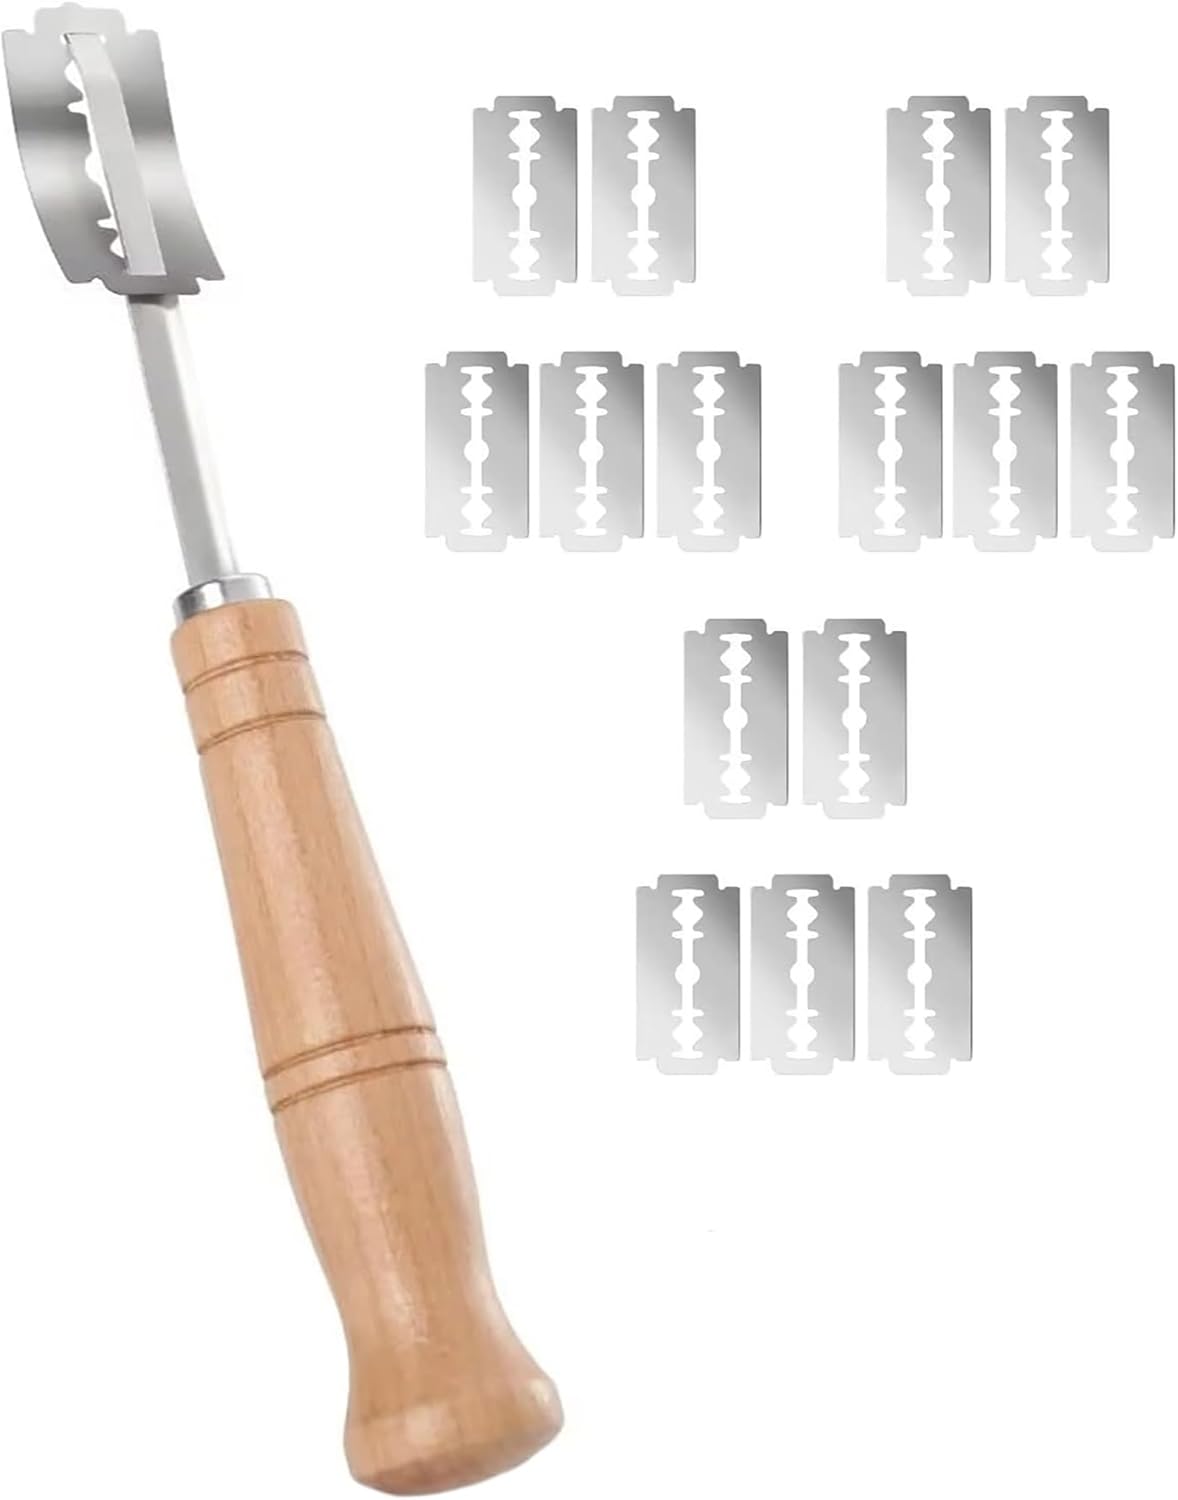
3. Bread Lame
As your loaf bakes, the heat causes rapid steam production inside the dough. If there’s nowhere for that pressure to escape, your loaf will burst open randomly — usually in unattractive or uneven places. Scoring creates a weak spot so the loaf can expand more predictably. I’ve tried a few different bread lames, but this one has been the easiest, simplest and safest for me. (The round bread lames, such as this one, often lead to small cuts in my fingers from adjusting or turning the blade and can get stuck from use.)
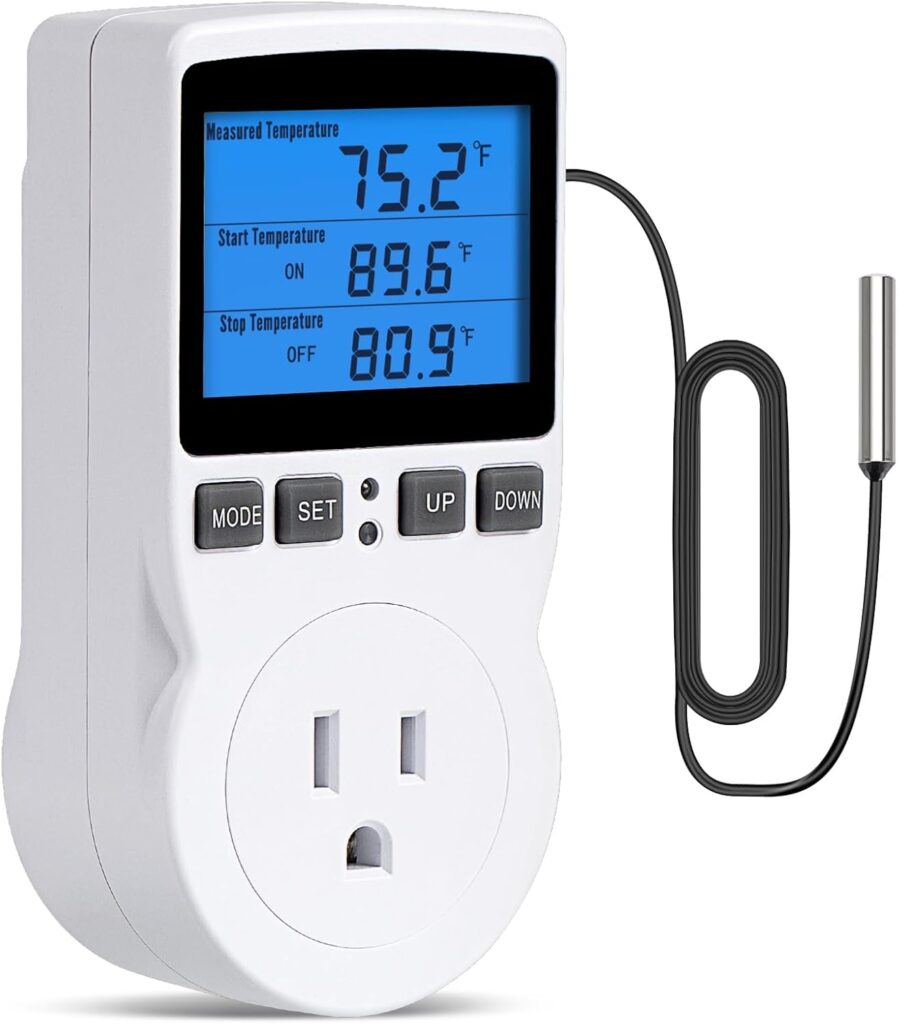
4. Digital Temperature Control Socket
A digital temperature control socket is incredibly helpful when you’re trying to create a sourdough proofing environment at home. Sourdough ferments best within a specific temperature range, and even small changes can speed up or slow down the fermentation process. This tool will allow you to monitor the temperature inside your “proof room”—whether that’s a warm corner of your kitchen, or a dedicated proofing box. It takes the guesswork out of fermentation and helps ensure your dough rises predictably every time.
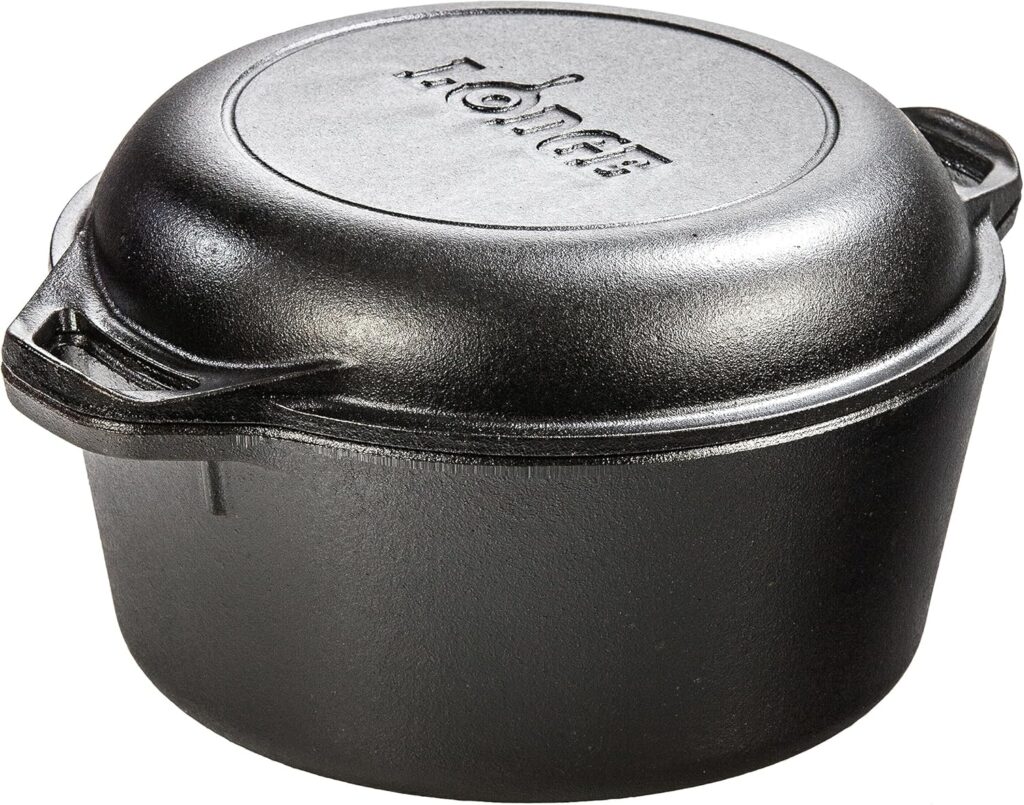
5. Cast Iron Dutch Oven
Using a dutch oven is one of the best baking receptacle for new bakers, but what I love most about our cast iron dutch oven is how multifunctional it is! I hate kitchen clutter, so the fancy enamel dutch ovens weren’t going to work for us. When we aren’t baking with our dutch oven, we can also use the lid as a cast iron frying pan and *drum roll please* WE CAN BAKE WITH THIS BAD BOY OVER AN OPEN FIRE! (We glamped in an RV for a few months when we first moved back to Canada, which was when we first decided to invest in cast ironware.)
It might be heavier, but it’s durable, and practically foolproof, which is why it’s one of my favourite tools for sourdough baking.
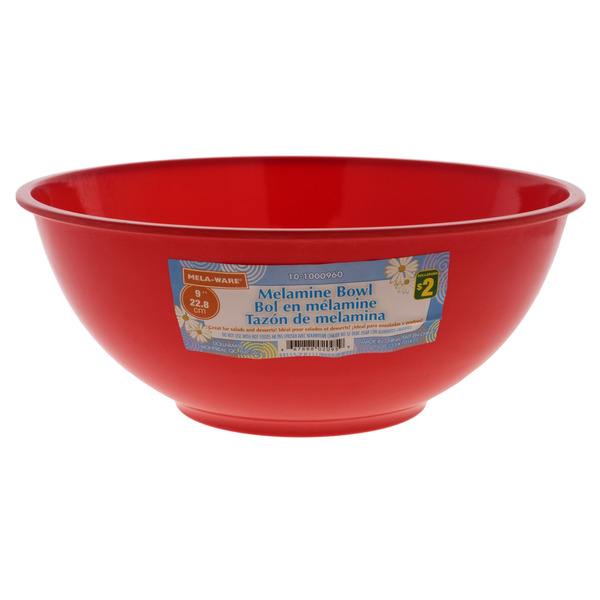
6. Proofing Baskets/Bannetons
This will vary depending on the size and shape of the loaves you want to bake. Initially I used the round rattan style banneton, but they are easily damaged if dropped and grow mold over time from the moisture in your loaves. I actually ended up finding some 8″ round melamine bowls at Dollarama that were about $4/ea, and work a million times better! (Sorry, I can’t find a link for these on the Canadian website. The price in the photo is USD.) They stack quite well, don’t absorb moisture and I haven’t cracked or broken one yet!
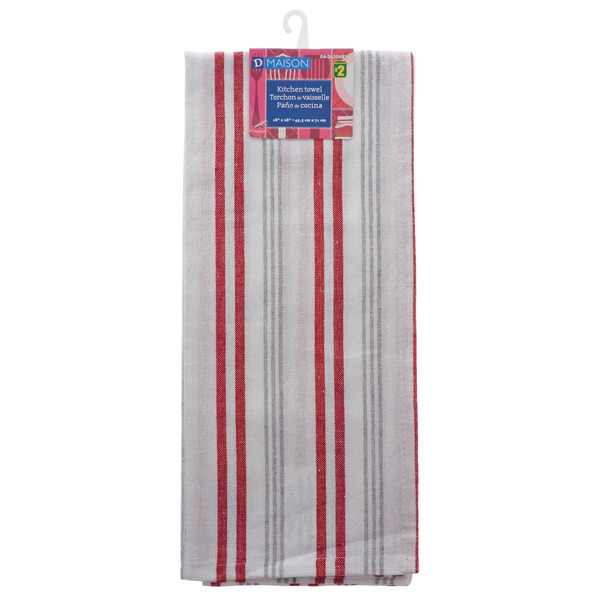
7. Cotton Towels
When bulk fermenting your loaf, you’re going to need to prevent it from sticking to the proofing basket. Initially, we spent an insane amount of money on these “proofing cloths“, but quickly realized it wasn’t worth it! We ended up finding some 100% cotton kitchen towels instead. (Another Dollarama find!) Just make sure they don’t have any texture and wash them thoroughly before using.
Starting sourdough can feel very overwhelming at first, but having the right tools can make the process a bit smoother. You don’t need everything at once (and you likely already have a few of these tools), but a few reliable basics should help you mix, shape, proof, and bake with confidence. As you grow more comfortable with sourdough, you’ll find the tools that fit your rhythm and baking style. I hope this guide makes your sourdough journey a little easier and helps you choose tools you’ll love using. Happy baking!
SHARE

As one of your hosts at Wilder Lodge, I can’t wait to share more beginner sourdough tools and tips with you!


Love this